RecodeQR Help
Getting started
Account & billing
Guides
Create free QR Codes in Canva
In this guide, I’ll show you the easiest way to add custom QR codes directly within Canva. This method generates QR codes that are fully customizable and forever free using our QR codes app for Canva.
You're in good company, over 3 million QR codes have been created using our platform.
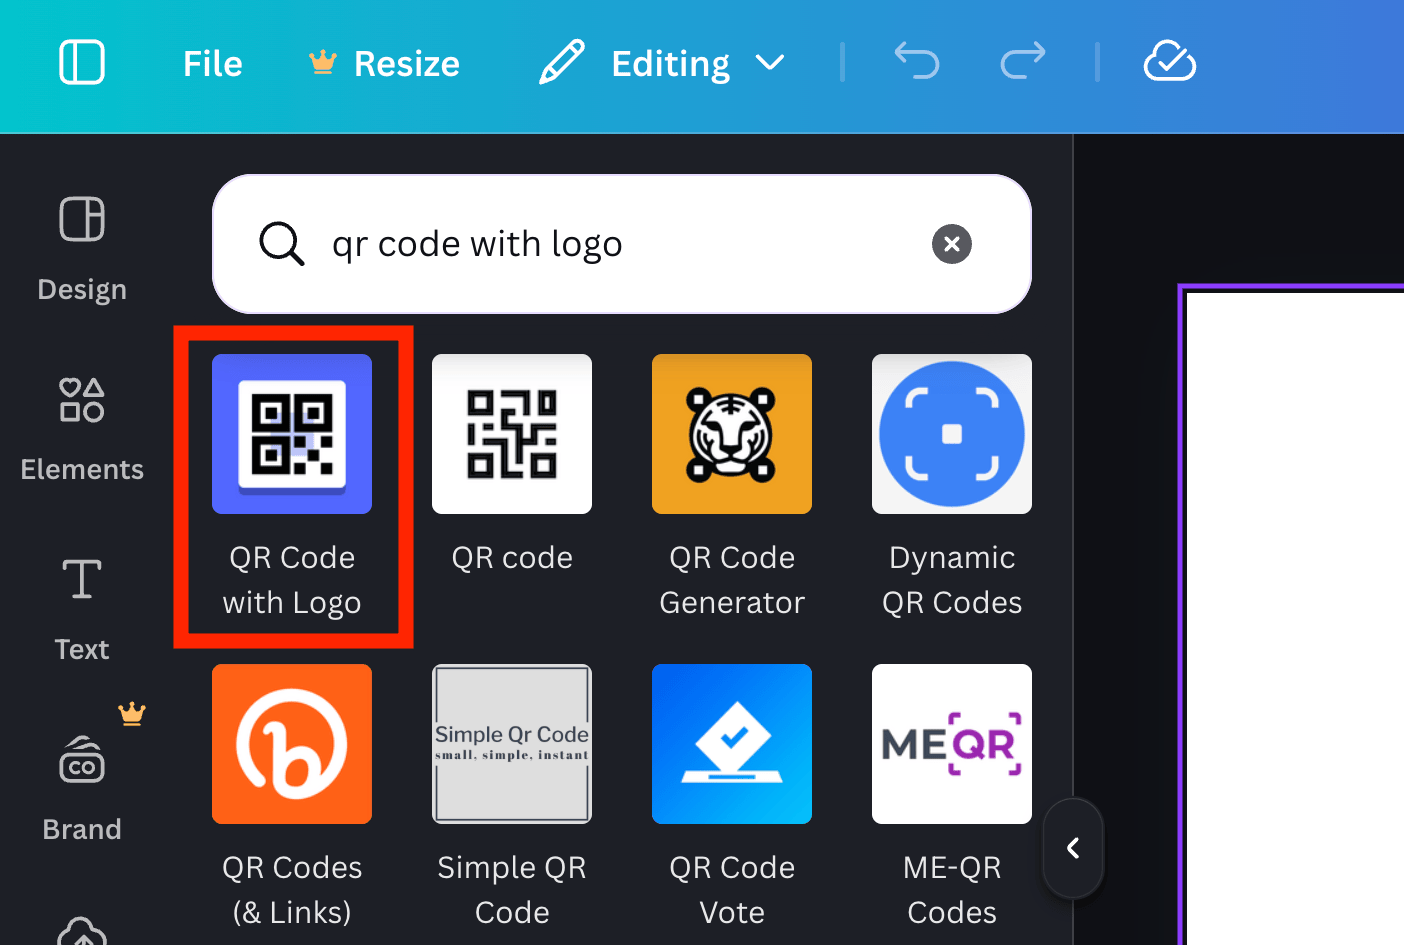
1. Install the "QR Code with Logo" app
To start, open the Canva design you are currently working on.
- On the left-hand sidebar, scroll down and click on Apps
- Search for the app: "QR Code with Logo"
- Look for the app published by RecodeQR
Why this app? Unlike many other marketplace apps, this tool solves the biggest pain points for designers:
- No subscription required: Generate QR codes that never expire
- Vector format: It generates SVGs, not PNGs (more on this below)
- Zero ads: A clean interface for your workflow
Once you click it, the app will appear in your sidebar for easy access in future projects.
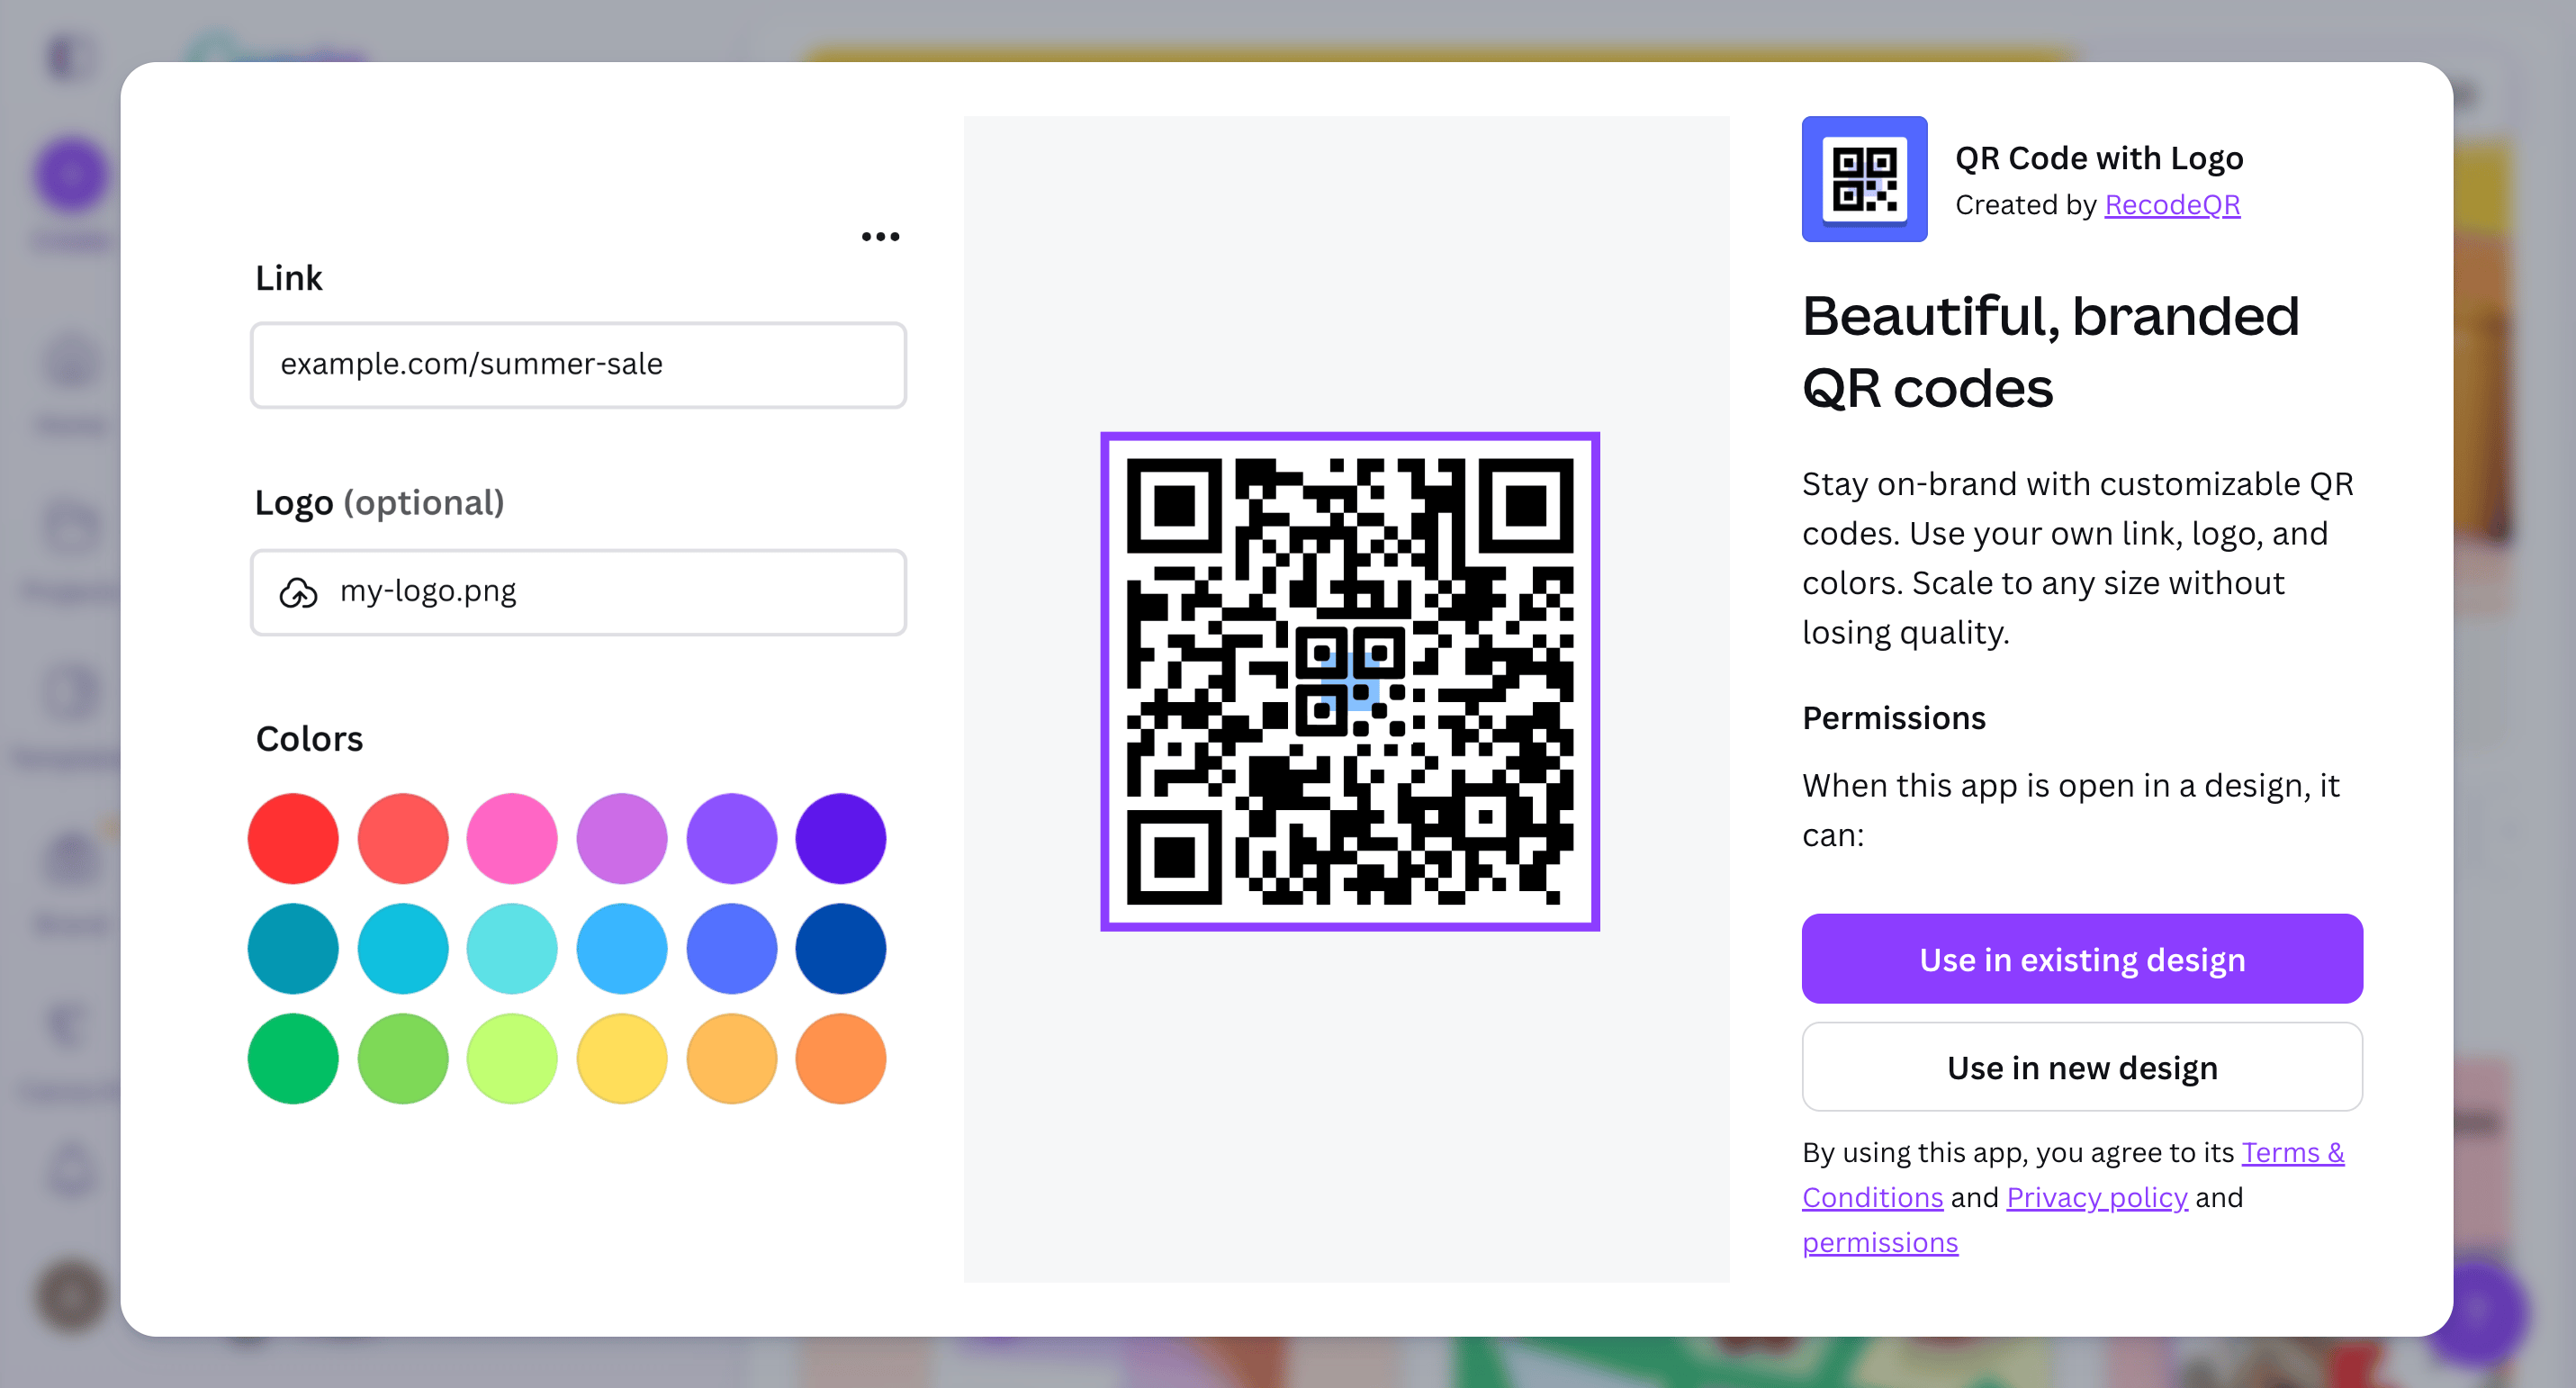
2. Generate and customize your QR
In the app panel, paste the target URL (website link) for your QR code.
Note on Static Codes: This app creates static QR codes. The URL is hardcoded into the pattern. The major benefit is that the link lives in the code, not on a server, so it never expires.
Next, customize the design to match your brand:
- Logo: Upload your company logo or icon to place it in the center. The app automatically adjusts the error correction level so the logo doesn't break the scan.
- Colors: Adjust the foreground and background hex codes to match your design palette.
Once you are happy, click Add to Design.
3. The quality difference: SVG over PNG
This is the most important technical detail in this guide. Most free QR generators give you a standard image file (PNG or JPG).
The problem? When you stretch a PNG to fit a large poster, billboard, or banner, it becomes pixelated (blurry). If the edges of the squares are fuzzy, phone cameras cannot read the data.
Our Canva app generates an SVG (Scalable Vector Graphic).
Because SVGs are based on mathematical paths rather than pixels, you can resize this QR code to be as small as a business card or as large as a building wrap, and it will remain razor-sharp.
4. Pro tips before sending to print
Before you export your design for the printer, run through this quick checklist:
1. The "Quiet Zone" Rule
Ensure there is a margin of empty space (usually white) around the QR code. If you crowd the code with text or images, scanners won't be able to pick it up.
2. Contrast is key
Ensure your QR code color stands out against the background. Dark code on a light background is the industry standard for maximum scannability. Avoid "inverted" codes (white code on dark background) if possible, as some older phones struggle with them.
3. Size matters
A good rule of thumb for printed materials (flyers, menus, business cards) is to keep the QR code at least 1 x 1 inch (2.5 x 2.5 cm).
4. Test on real devices
Always scan the code on your computer screen with both an iPhone and an Android device before printing.
When to use dynamic QR codes instead?
The method above is perfect for permanent links (like your homepage). However, you might want to consider dynamic QR codes if you need:
- Editable Destinations: Change where the QR code points after you’ve already printed 1,000 flyers.
- Scan Tracking: See analytics on when, where, and how many times your code was scanned.
- Smart rules: Enable password protection or set a schedule when codes are active.
- Bulk Management: Organize hundreds of codes for large campaigns.
If you're not sure which type of QR code is right for your project, check out our guide on static vs dynamic QR codes for a detailed comparison.
Wrapping up
And that's it! You now know how to add professional, branded QR codes to your Canva designs without worrying about monthly fees or low-quality prints.
Feel free to share this guide with your design team, and let us know if you have any questions about QR codes.